Description
Materials
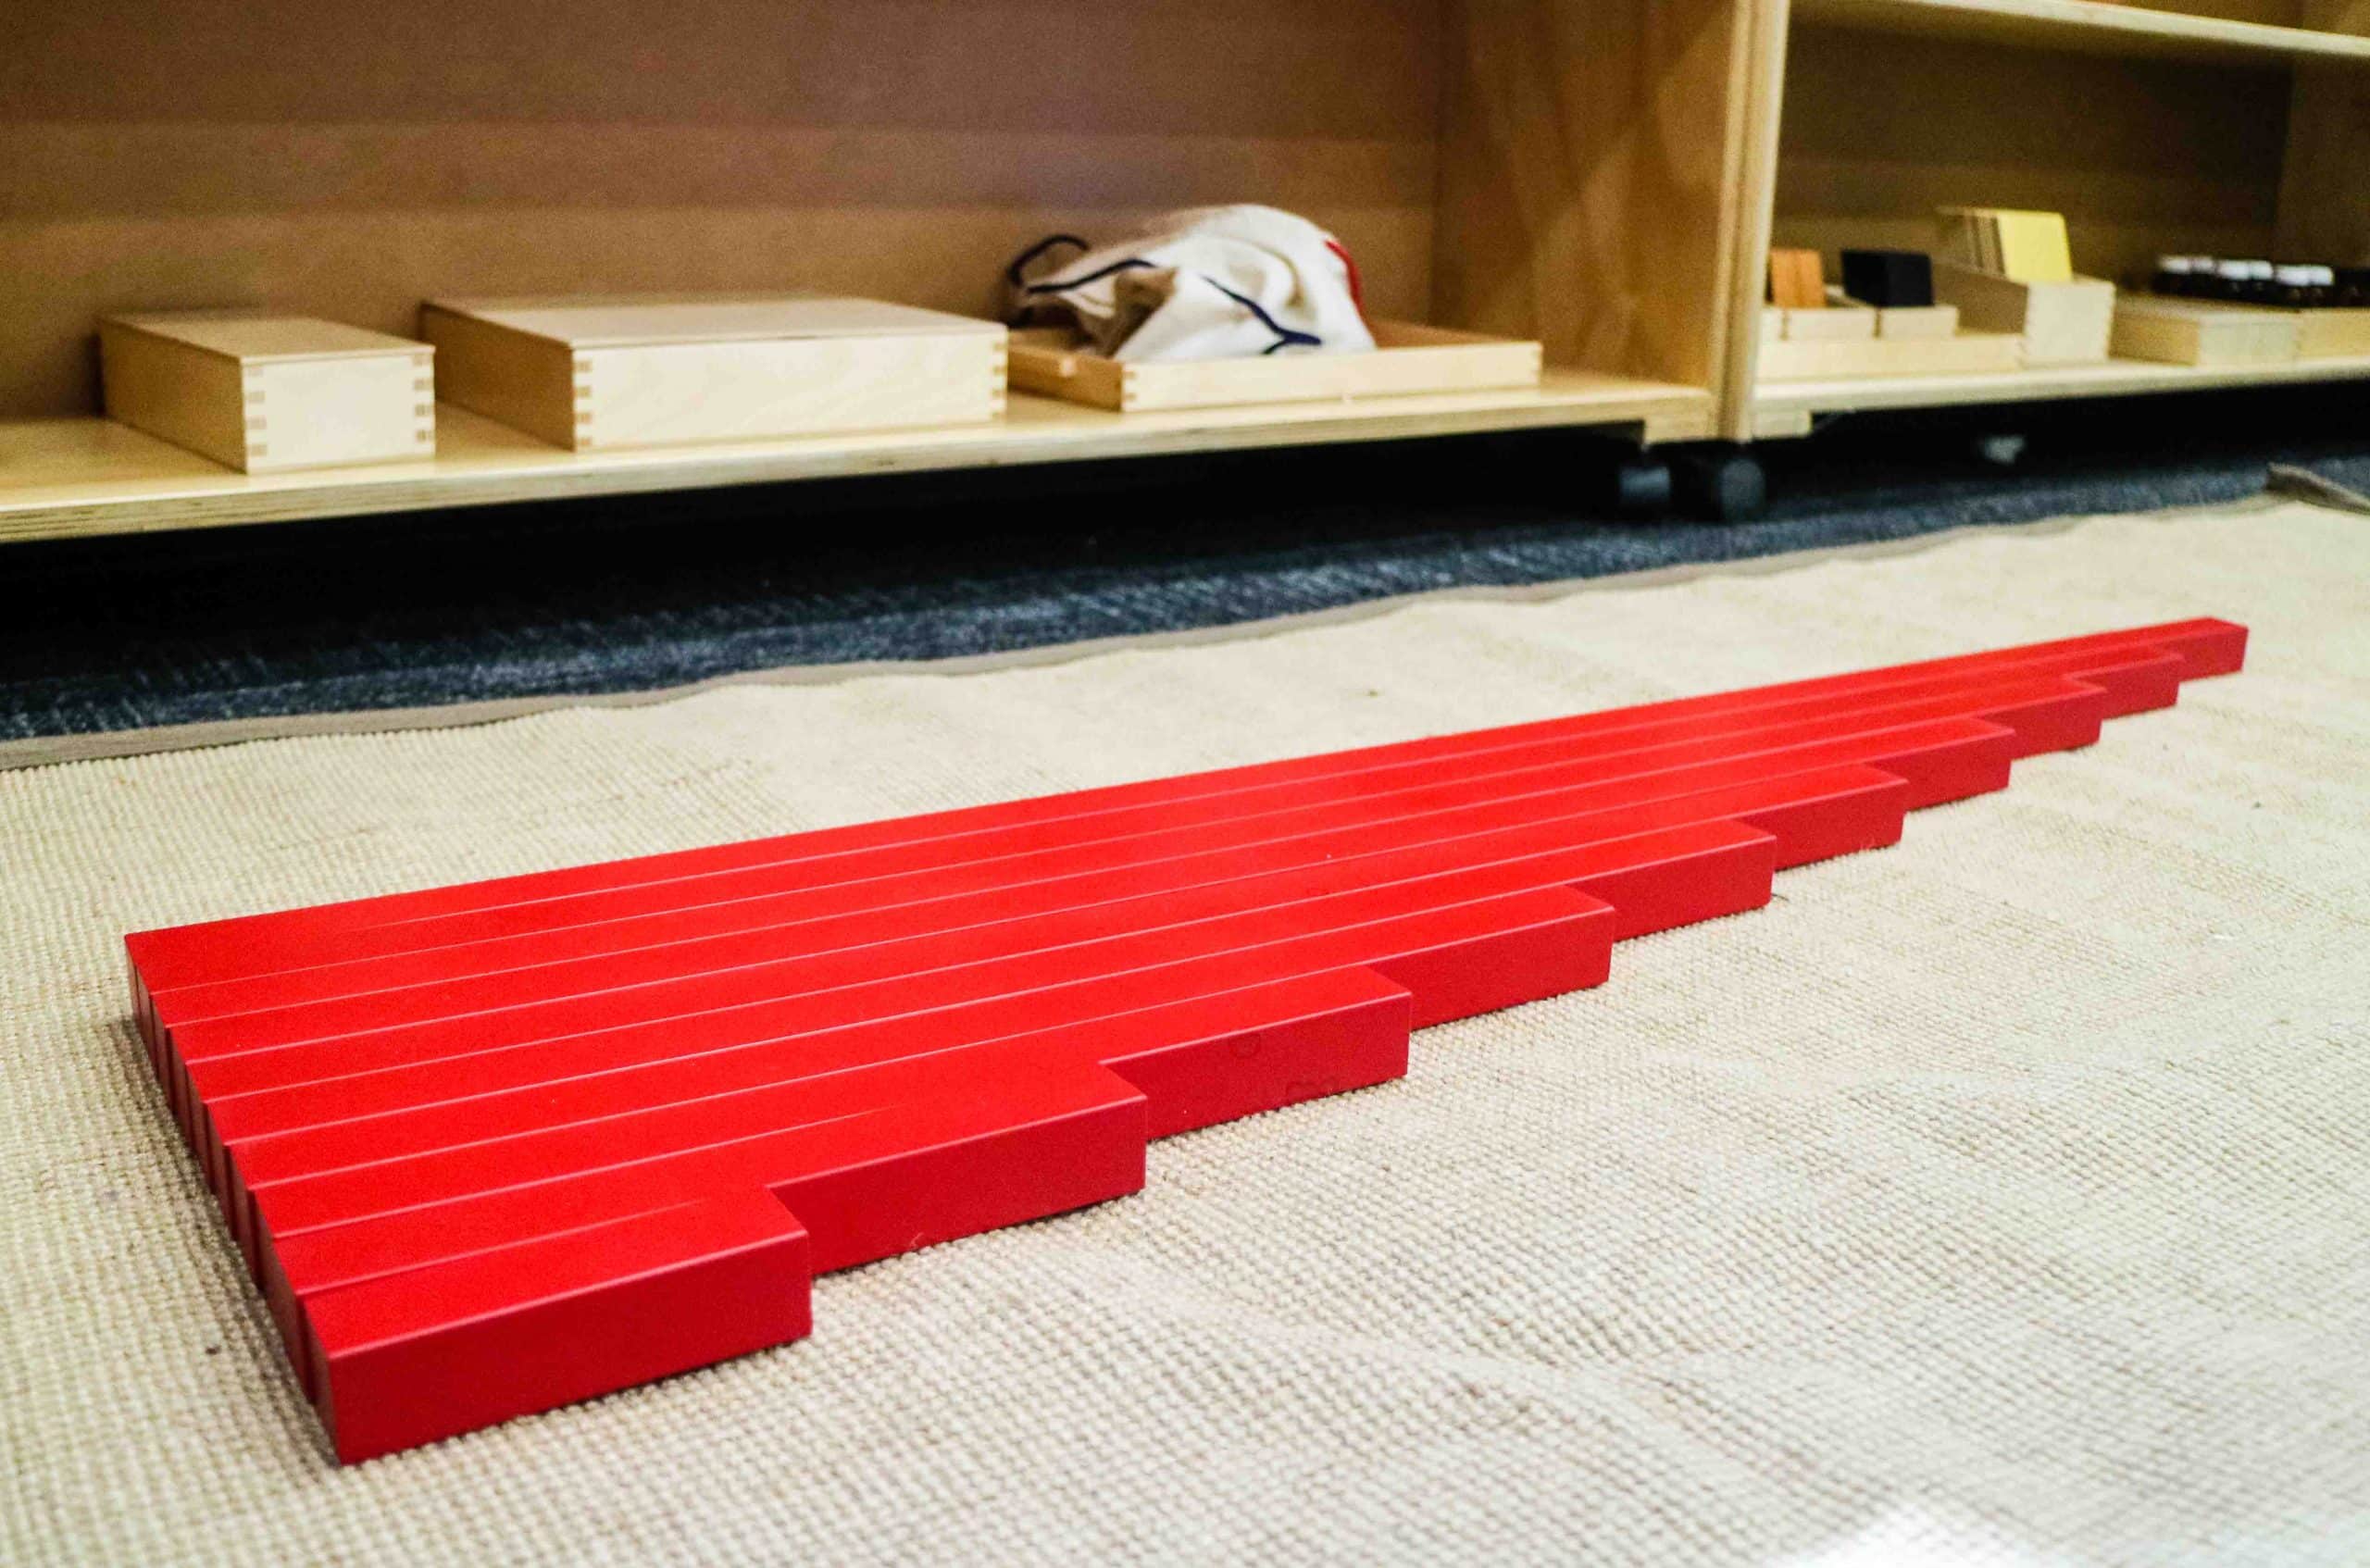
– 10 red rods differing in one dimension – length (from 10cm to 100cm). The unit of difference between each rod is 10cm.
– A large floor mat or two regular mats.
Invite the child by telling him you have something to show him. Tell the child that for this lesson, we will need 2 mats. Have the child fetch and unroll a mat. The have him bring another mat and have him place it next to the first mat to form an “L” shape. Bring him over to the correct shelves and point to the Red Rods. Tell the child: “These are the Red Rods”.
Constructing
– Show the child how to hold the shortest rod by gripping over the top of the center part of the rod using your right thumb and fingers.
– Slowly slide the rod off of the shelves until it is fully out.
– Grip the rod with your left hand below your right hand.
– Carry the rod vertical and so your hands are at waist level.
– Have the child carry all of the rods over one at a time and place them randomly on one of the mats.
– Once all of the rods have been brought over to the mat, have the child stand to your left.
– Carefully pick up the longest rod and as you kneel in front of the mat, place it horizontally near the back of the other mat.
– Turn to the child and tell him that you are now looking for a specific one.
– Go over to the other mat and carefully choose the next longest rod.
– Kneel in front of the longest rod and in a steady and precise movement, place the rod directly under the longest rod on the other mat, and align them so that the left edges are well aligned.
– Once it has been placed, check to see if it is well aligned by sliding your hand along the left edge of the two rods.
– Continue placing all of the rods in correct order and placing them so that they come closer and closer to you as each rod is placed.
Taking Apart
– Take apart the Red Rods by removing the shortest to the longest and placing them on the now empty mat.
Invite the child to construct the Red Rods. To help him get started, ask him which one he is going to start with. If the child seems to understand, you can let him work alone. Once he is done, have him replace the rods from longest to shortest back on the shelves.
Exercises
Exercise 1
The child works individually with the material as shown during the presentation.
Once the child has seemed to master the constructing of the rods, the directress will show him an additional step. The directress will carefully place the shortest rod to the direct right of the second longest rod and up against the side of the longest rod. Show the child that by doing so, the second longest rod is now at the same length as the longest. Repeat this on every end of every rod by working your down to the shortest rod.
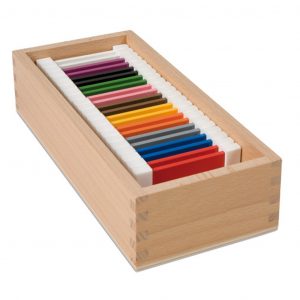
| Boxes 1 and 2: | Matching from a distance Matching to the environment |
| Box 3: | Matching to the environment Grading from an extreme Grading from a midpoint |
Long and Short
The positives, comparatives and the superlatives
Direct
Visual discrimination of difference in dimensions (length).
Muscular memory of length.
Indirect
Preparation for mathematics.
Only when the child is able to discriminate dimensions can he see the disharmony in the building of the rods.
Reviews
There are no reviews yet.